Rancher and Docker Desktop extension
Install this extension into your desktop application to deploy and manage SUSE Application Collection workloads in your local Kubernetes cluster.
Installation
In this section we walk you through the steps needed to install the extension in Rancher Desktop and Docker Desktop. However, it should work in any desktop application that supports the Docker’s extension mechanism.
Rancher Desktop
Enable Kubernetes
The workloads will run in a local Kubernetes cluster, so you want to make sure Kubernetes is enabled .
To do so, open Rancher Desktop, go to the Preferences menu, navigate to Kubernetes, and check the Enable Kubernetes option.
Finally, click Apply & Restart.
Install the extension
In the main Rancher Desktop window, go to the Extensions tab and search for the SUSE Application Collection extension. Click on Install
to add the extension and give it a couple of minutes to boot.
Once the extension is running, you will find it right below the Extensions tab.
Docker Desktop
Enable Kubernetes
The workloads will run in a local Kubernetes cluster, so you want to make sure Kubernetes is enabled .
To do so, open Docker Desktop, go to the Settings menu, navigate to Kubernetes, and check the Enable Kubernetes option.
Finally, click Apply & Restart.
Install the extension
In the main Docker Desktop window, go to the Extensions tab, click on the Browse tab and search for the SUSE Application Collection
extension . Click on Install to add the extension and give
it a couple of minutes to boot.
Once the extension is running, you will find it right below the Extensions tab.
Authentication
At this point you can already search the collection, but to be able to deploy workloads you need to authenticate first. Make sure you already have a SUSE Application Collection account before proceeding.
Once you have an account, create an access token by following these steps.
Finally, go back to the extension and navigate to the Settings tab. There, enter your username and the access token you just created.
If the authentication is successful, you will see a green checkmark next to the Save credentials button:
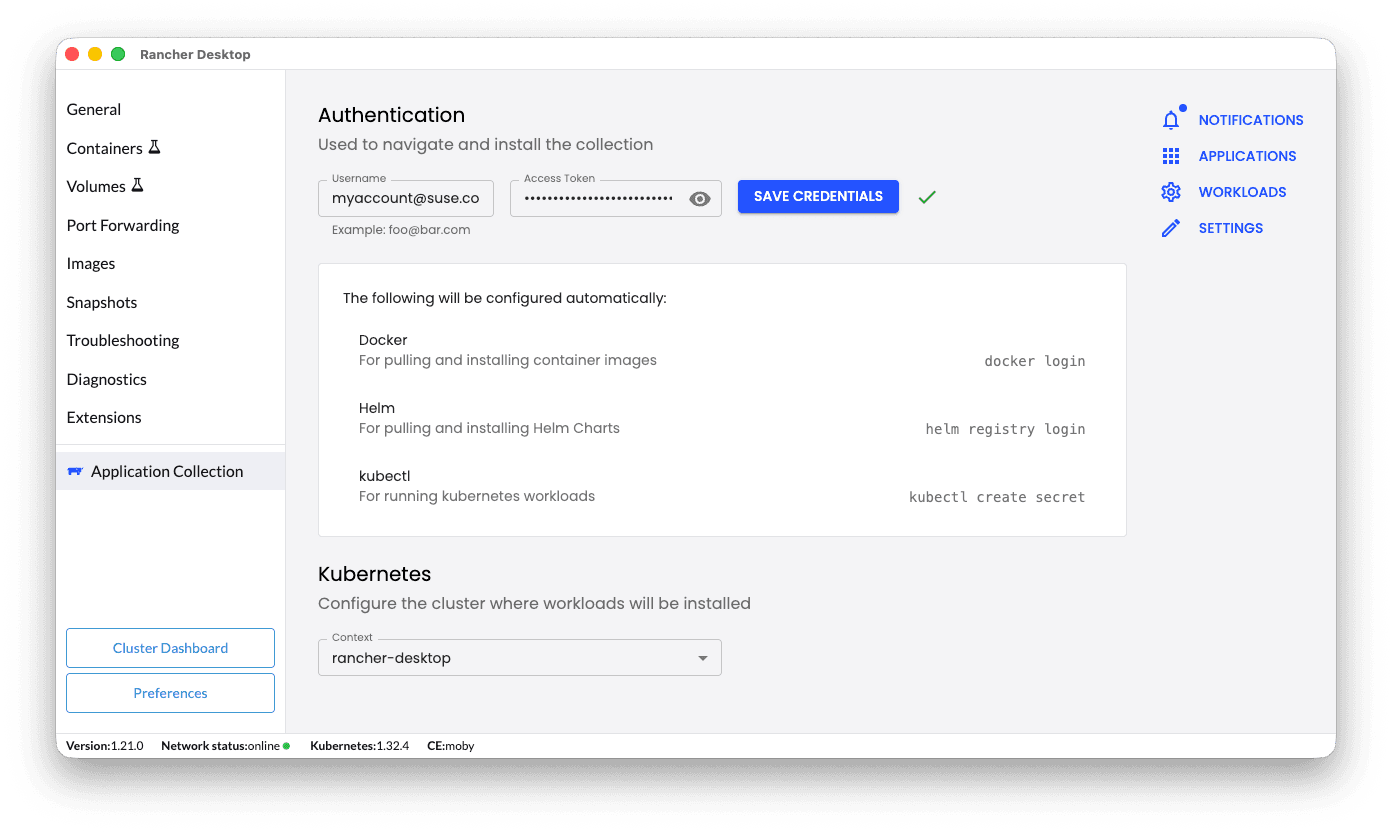
Make sure that the right Kubernetes context is selected:
- If you are using Docker Desktop, the context should be
docker-desktop. - If you are using Rancher Desktop, the context should be
rancher-desktop.
These credentials will be used to pull content from the Application Collection registry, so make sure you understand our rate limits to avoid unwanted surprises.
Deploying workloads
In this section we will install Grafana , a metrics visualization dashboard with a web UI.
Go to the Applications tab and scroll down until you find Grafana. Click on it to open the details page:
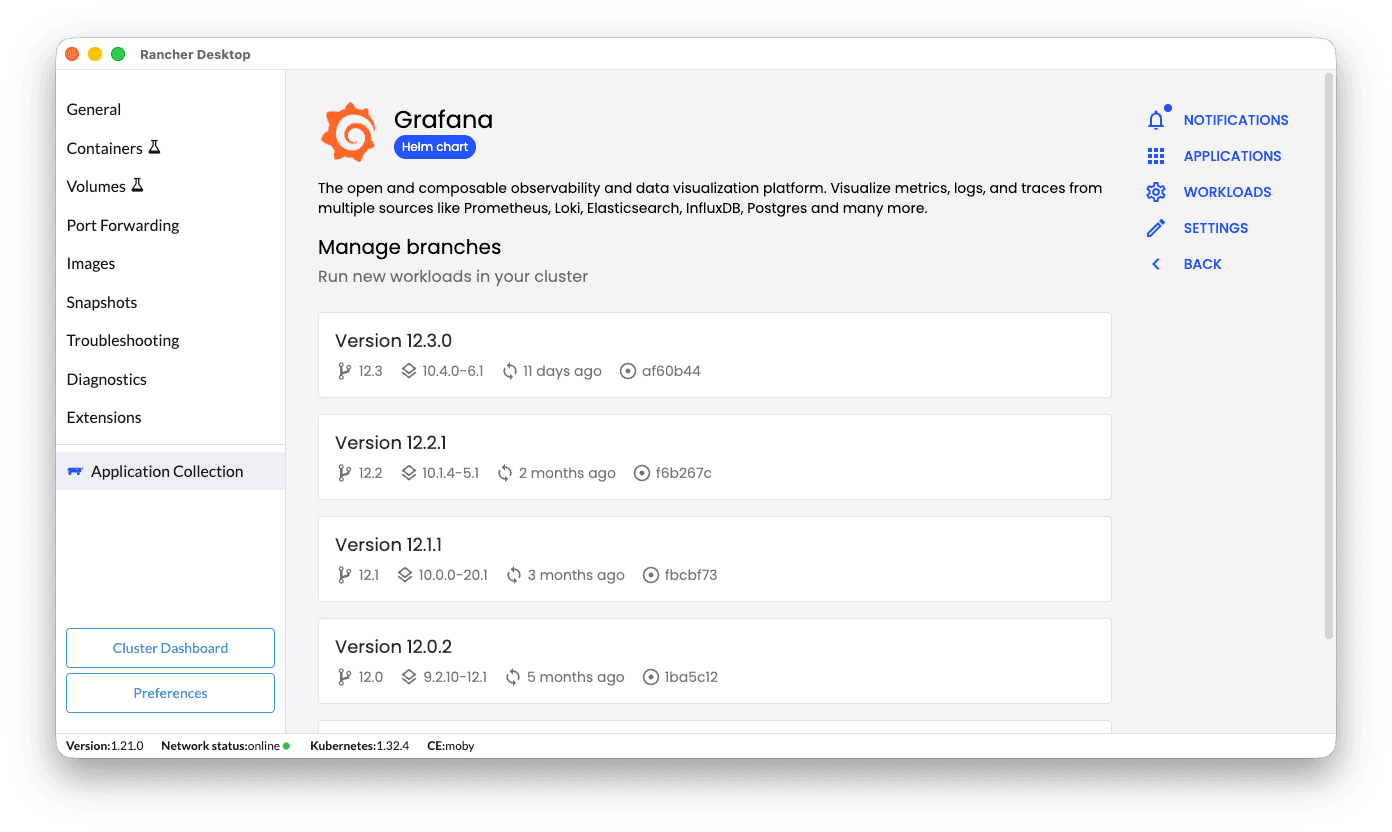
In this page you can see:
- An entry per active branch available in the collection.
- For every branch, the latest application version.
- Each entry represents the latest build for that specific branch and version.
- Additional metadata: build date, artifact short digest…
Click the latest version available, to open the Helm values form:
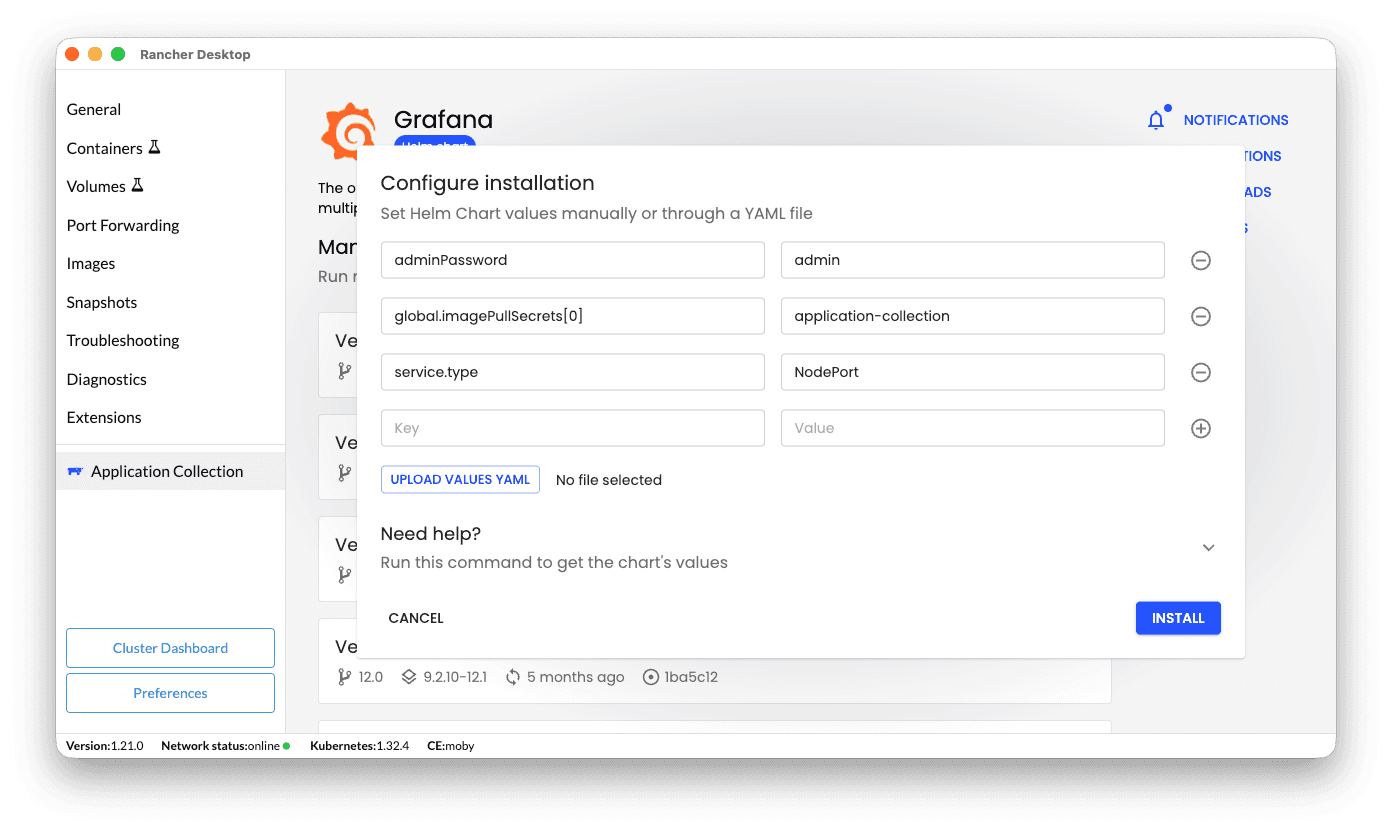
Click Install. This will deploy the application in the background. You can always monitor the deployment status either in the
notifications panel or in the Workloads tab.
Local deployment values
For most applications, we already provide a set of predefined values for local deployments so you don’t have to configure everything from scratch. These values are always designed to:
- Map key application ports to the local machine: web UIs, user APIs…
- Provide default credentials (if possible): we try to use
admin:adminif the application allows it, but we always recommend to look at the releaseNOTES.txt. - Autoconfigure Kubernetes image pull secrets: so the Application Collection images can be pulled without any additional configuration.
You can always inspect these values manually by pulling the Helm chart:
helm pull oci://dp.apps.rancher.io/charts/grafana --untar --untardir /tmp/
cat /tmp/grafana/values.local.yaml
Managing workloads
Once a deployment is completed (regardless successfully or not), it will appear in the Workloads tab.
You can also access the workload details from the deployment notification in the notifications panel.
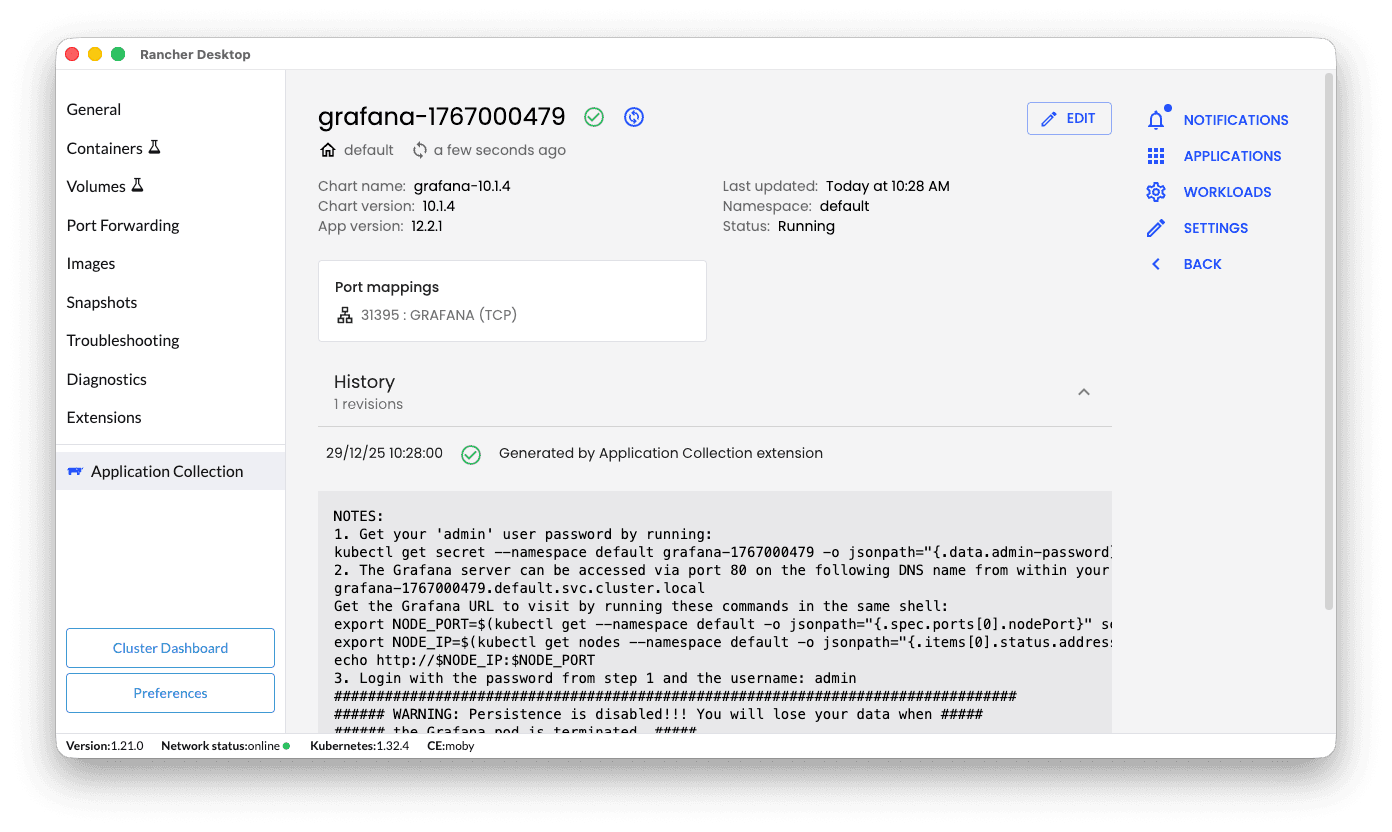
Here you will find the deployment overview and history, including:
- Release status: whether if the deployment succeeded or not, and potential updates.
- Release metadata: release name, namespace, application and chart versions…
- Port mappings: the local ports mapped to the application services.
- Release history: track upgrades, rollbacks, and changes to your deployments over time.
- Release notes: often useful to get the application credentials or deployment specific instructions.
From this page you can also edit, upgrade or uninstall the workload.
If you need to patch a deployment, make sure you do it through the extension UI to avoid inconsistencies. Otherwise, the extension might not be able to track the workload status properly.